A healthy drawing practice is one that keeps evolving and may sometimes surprise you. It’s easy to fall into the same drawing habits, and it’s also easy to fall out of the habit of drawing at all. This article serves as a reminder that you can invigorate your drawing practice and develop your skills by trying a different approach. You might choose to try one of these five minute drawing exercises on its own, or you could spend twenty minutes creating four, five minute drawings of the same subject and see how the differences in drawing approach affect the results.
1. Set A Time Limit For Your Drawing Exercises
If it’s been a while since you last spent some time drawing, setting yourself a time limit for each drawing (5, 10, 15 mins) will keep you moving, looking, and not get bogged down in superfluous details. A quick sketch is a great way to focus on what you really want to communicate about your subject through your drawing. For this article I limited the four drawings to 5 minutes, setting a timer on my phone.
2. Draw Instinctively
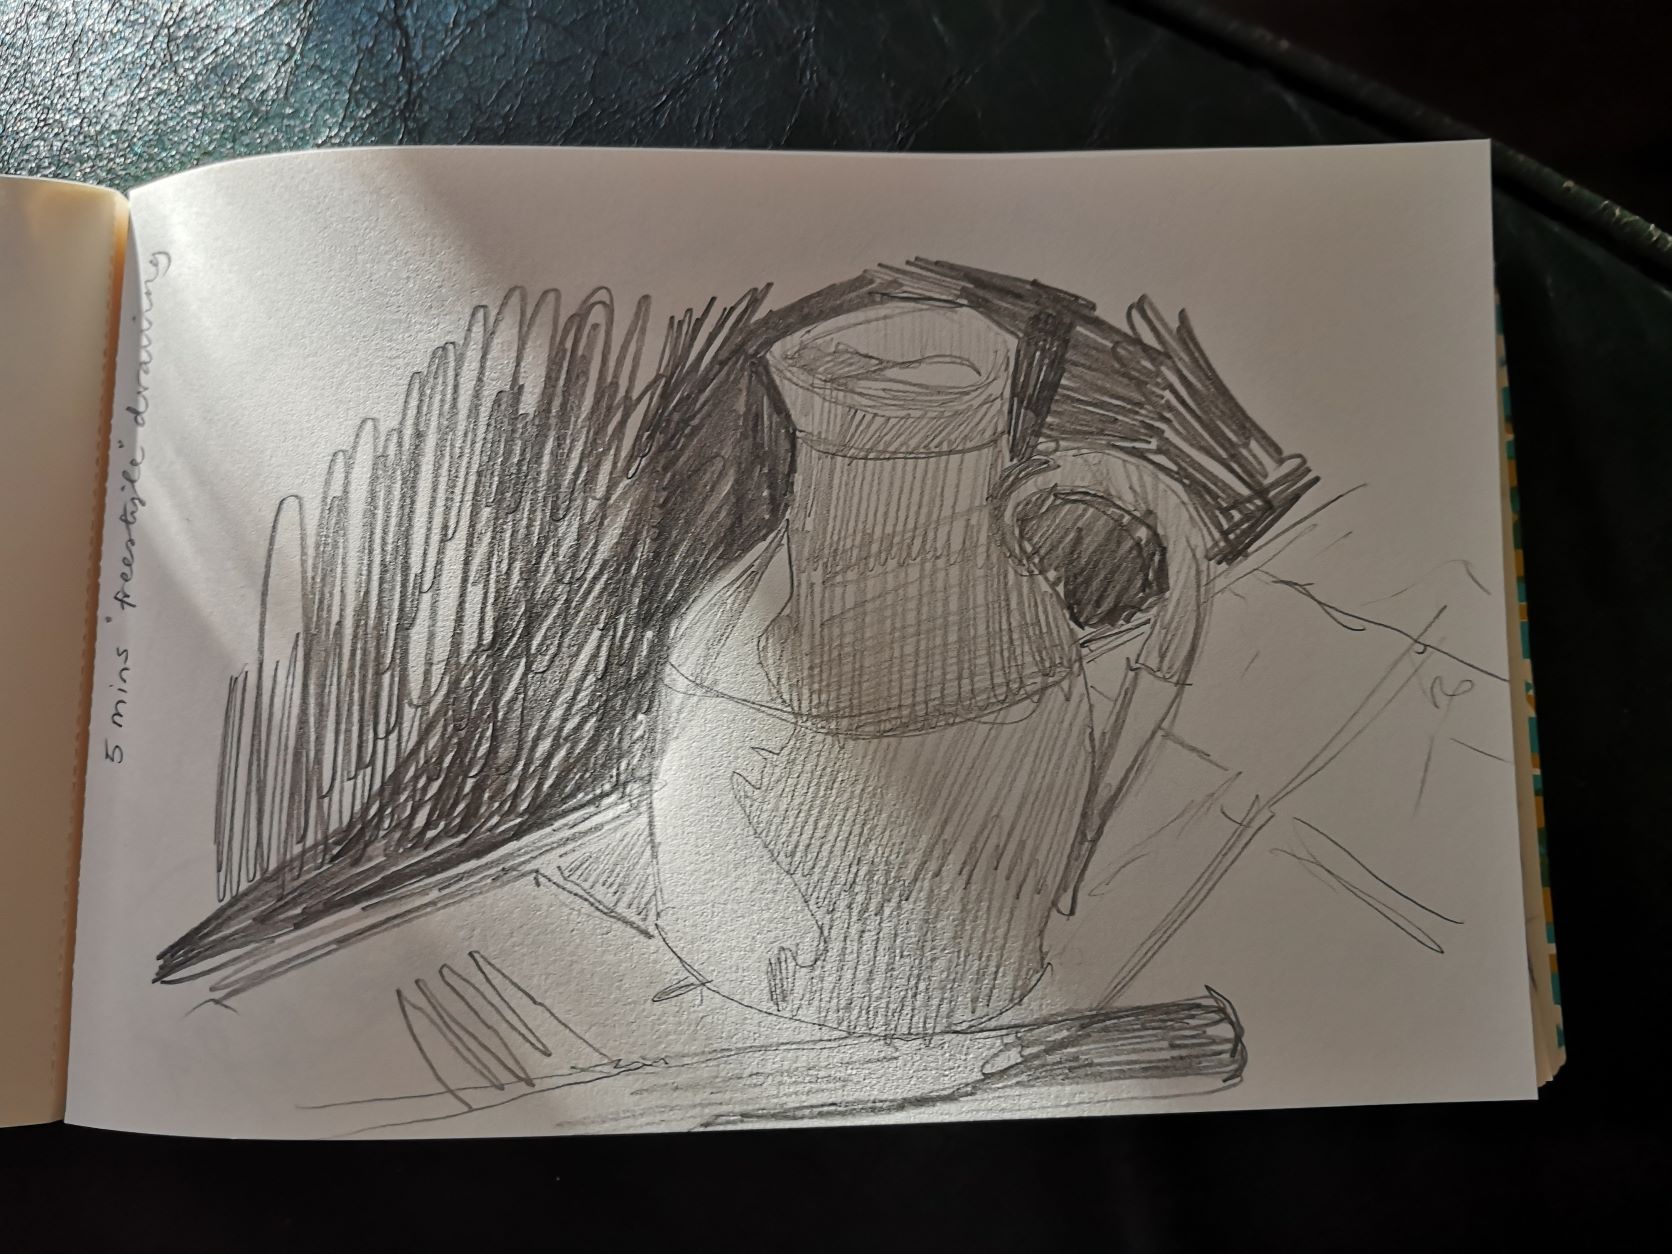
There are no rules for this five minute drawing exercise other than to set your timer and draw how you would normally. This is the drawing that resulted after five minutes of looking. It had been a while since I had done any drawing for the sake of it, and my chosen subject was a jug, a fork, a knife and a spoon arranged on a table. After about a minute of drawing I found I had run out of room to fit in the cutlery but I didn’t want to redraw my composition, given the time limit, so I just carried on. I found myself drawn to the tonal values of the still life, making solid shapes of the shadows on the side of the jug. Not a great drawing but it was fun to do and I had managed to overcome a blank page.
3. Draw With Your Weaker Hand
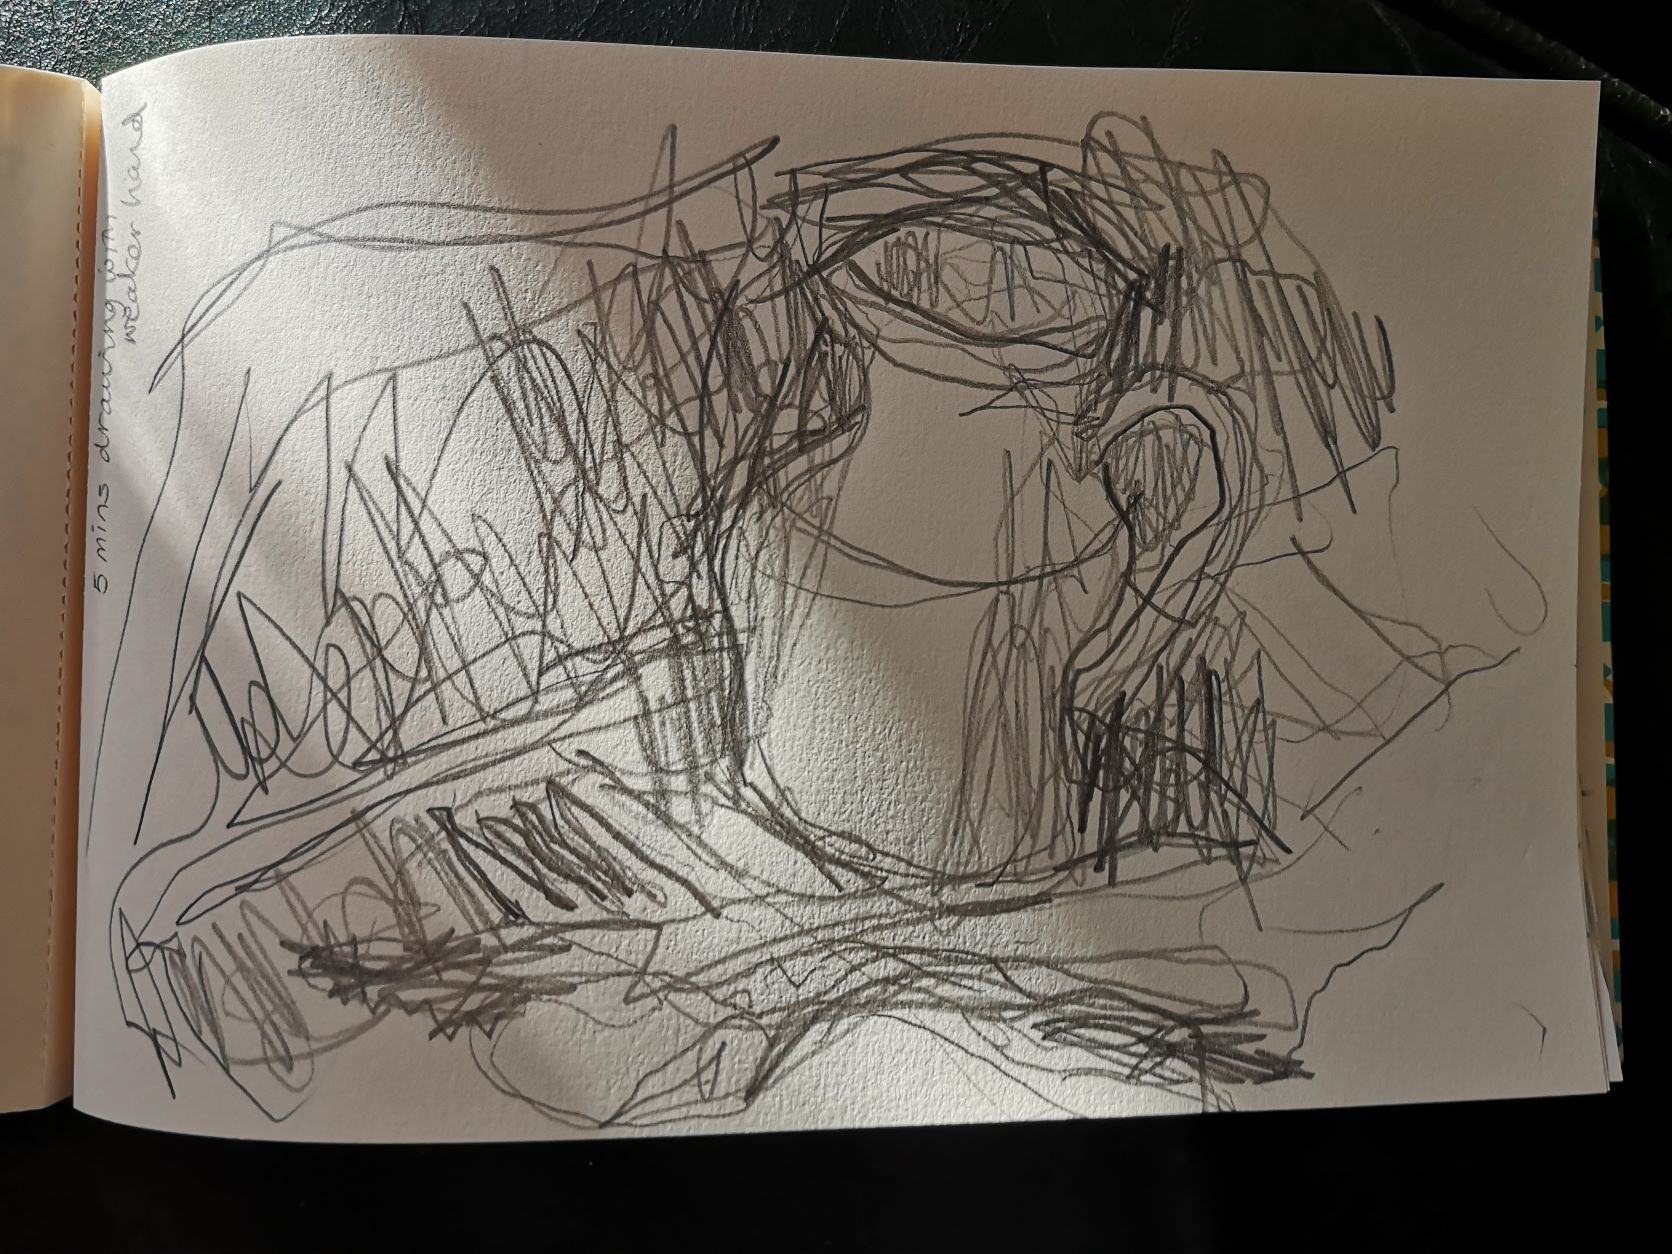
Drawing with your weaker hand means to draw with your left hand if you are usually right handed, or draw with your right hand if you are usually left handed. When I tried this approach I found drawing in a soft cover sketchbook balanced on my lap really added to the challenge! I felt out of control, but that said I managed to fit more of the composition on the page than in the first drawing exercise. This tends to happen when drawing with your weaker hand, and as a result drawing with your weaker hand can be really useful when mapping out a composition on canvas or paper for a more involved work of art. Feeling out of control felt a little uncomfortable, and resulted in some scratchy and fairly uniform marks across the drawing. I found it more difficult to add tone to the drawing and consequently a lot of the outline lines ended up becoming part of the shading. While I was drawing I thought I wouldn’t like the end result too much, but once the five minutes had passed and I had put down my pencil, I saw that this drawing is more cohesive and expressive than my first drawing, and I actually prefer it, which is surprising!
4. Draw Negative Space
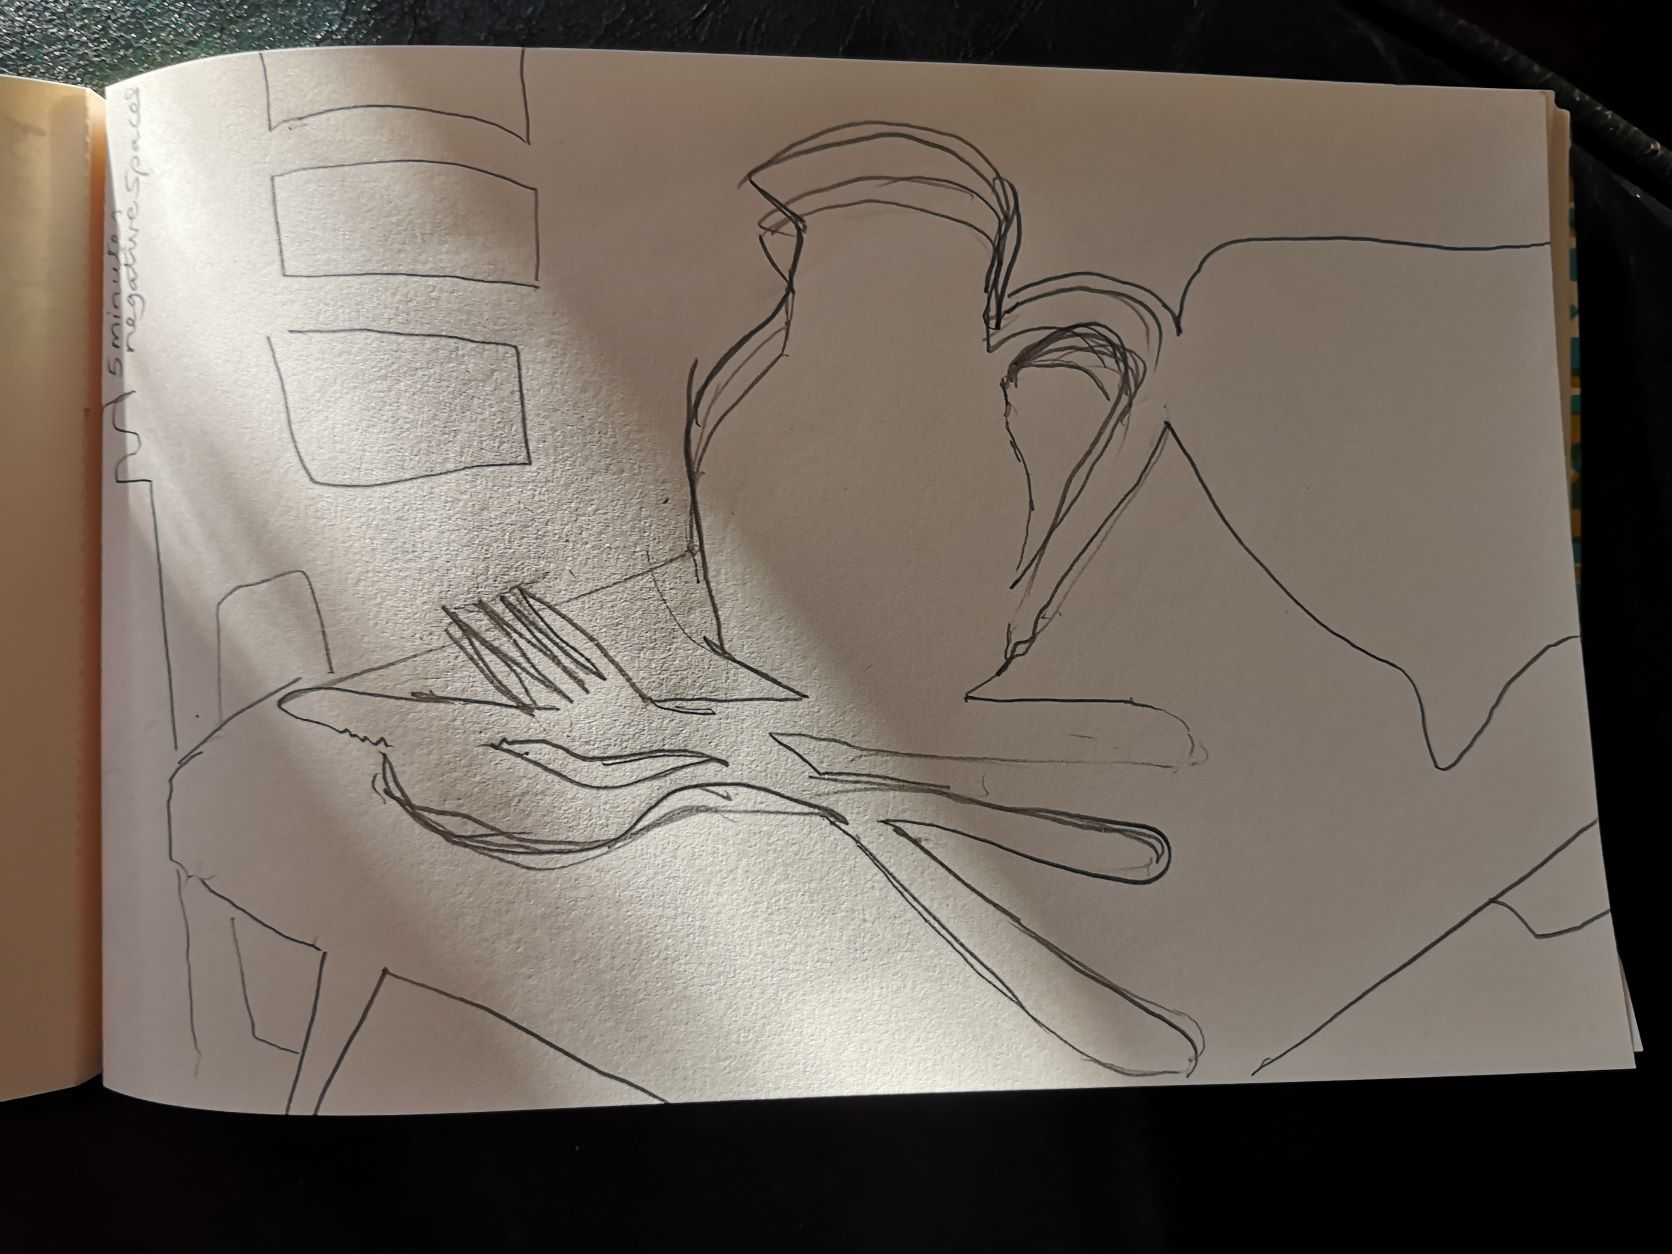
Drawing negative spaces means to draw the gaps between and around the objects of your subject matter. This didn’t come naturally to me at all, and I found myself constantly questioning whether I was still drawing negative spaces or whether I had slipped into drawing the positives of the subject again! Perhaps because this was my third time drawing the same subject, I felt a greater confidence to correct my own lines. I managed to fit a lot more of the composition and the room in general on the paper this time. I found there wasn’t lots of negative space to concentrate on, but having this idea in mind definitely allowed me to see the subject in a different light. I really enjoyed looking at the outlines of the shapes and got lost in the drawing process. There is no consideration of shading or tonal value in this drawing as tone and the description of volume felt at odds with the exercise of describing negative space.
5. Blind Contour Drawing
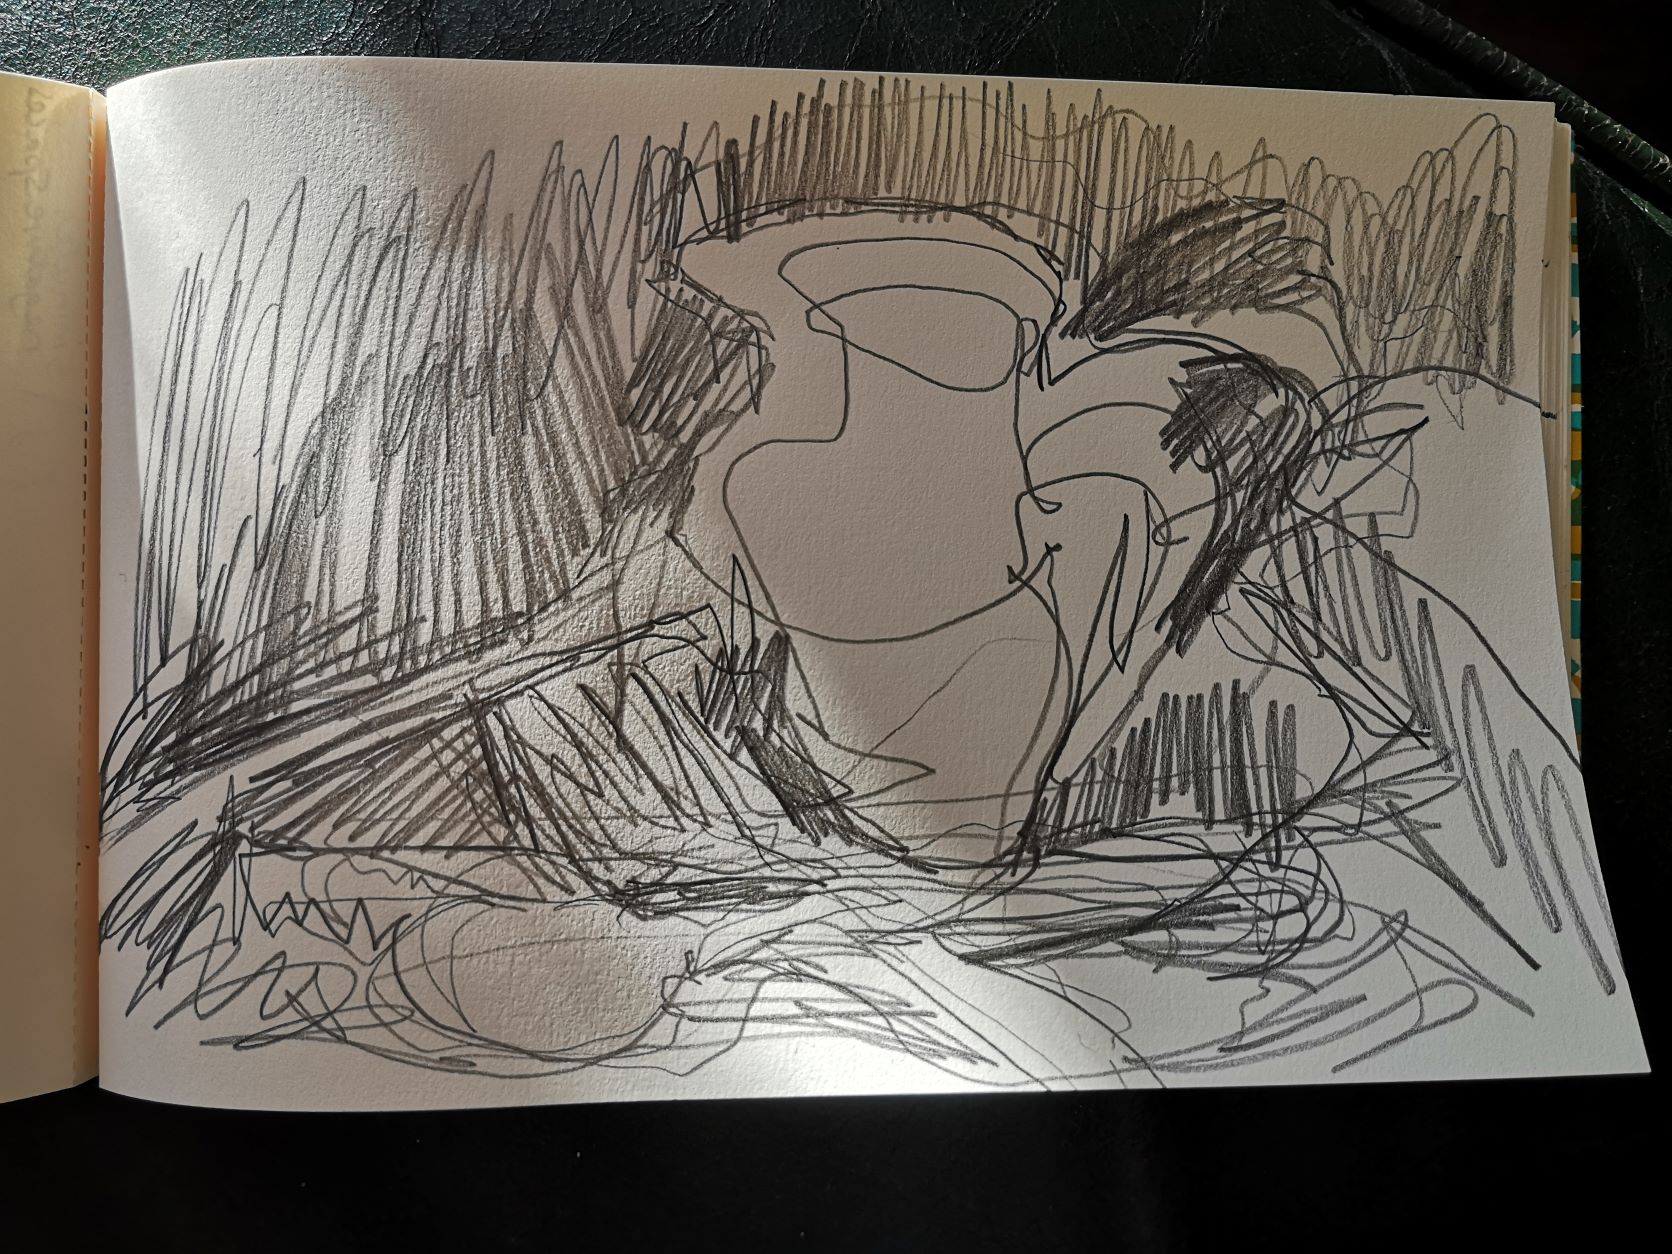
Blind contour drawing is when you draw from observation without looking at the paper. Inevitably you are likely to create a continuous line drawing in the process – where you don’t lift your pencil from the paper, as this will help your shapes to relate to one another as you move your eye across the subject, and attempt to let the movements of your drawing-hand coordinate with your roving eye.
I have a confession: I looked down at my drawing after about 3 mins, and although there were a mass of lines in front of me, I really enjoyed the visual record of my looking; the lines following the direction that my eyes took as they travelled around the objects in front of me. I spent the last minute and a half looking at my drawing for about 20% of the time, with 80% of the time spent looking at the subject, but I regret straying from my self imposed brief. I finished 30 seconds early as I didn’t want to do any more to the drawing. I love the urgency in the quality of the line, and how the outlines of the jug especially, echo and overlap one another. There’s a little loop just under the handle that I find pleasing to look at, and it’s something that would not have appeared in a drawing that I had more control over. I noticed that I instinctively applied a lot more pressure with my pencil too. I felt most out of control here, not even looking at what I was doing, but this is my favourite drawing of the four, mainly because of the varying tones and directions of the pencil marks.
Spending twenty minutes trying out a number of five minute drawing exercises is a fantastic way to slow down the art of looking, and explore a variety of techniques. You can do this with any drawing medium. Although I have tried these ways of drawing many times before, the value of being reminded to use these techniques every now and then will never wane. It’s fascinating too to see how different the resulting drawings are. Immediately after this session I was itching to make another drawing; this is primarily down to the element of surprise that comes with changing your approach in order to create something new, unfamiliar and full of expression.
Further Reading
Developing a Daily Drawing Practice With the Royal Drawing School
Using Soft Pastels for Observational Drawing
The Art of Drawing and Observation by Jarvis Brookfield


12 thoughts on “Five Minute Drawing Exercises”
You have inspired me to practice what I
know I should be disciplined enough to
do daily. Thanks! Pad and pencil will now
be a constant in my life!
Ah Bill, your comment makes me happy! Little and often with drawing is always the way to make it become a regular daily activity.
All the best
Lisa
Thank you Lisa. This exercise is a much
needed incentive to return to drawing.
That’s great to hear Lea! I think it’s always worth being reminded that a drawing doesn’t need to take a long time, or be a masterpiece. The most important aspect of drawing is just putting pencil (or pen or brush) to paper.
All the best
Lisa
Excellent! Great inspiration , thank you!
Each of your post are always so
interesting Lisa( a long time reader)
Dear Lulu,
That’s so kind of you to say, thank you so much for reading!
Best wishes
Lisa
It’s also good to do exercises for
basic motor and perception skills.
For instance, get two copies of a
newspaper or such, and put one down
to look at and one to draw on. Put
your pencil at some spot on the
drawing paper and look at the
corresponding spot on the reference
paper, and move to place a dot, or
draw a line, or some other distance
or figure on the drawing paper while
looking at the reference paper — and
then immediately see how you did with
using just muscular position sense,
for distances and angle. Keep going,
getting constant feedback for each
dot or line to train your muscles to
‘draw blind’ and improve eye hand
coordination.
Draw a simple object by judging
distance and angles of multiple
various ‘landmark points’ in the
image — seeing how each of them
relate to all the others. Use a
larger number of reference points and
angles than you usually do — perhaps
a dozen of them, being aware of the
overall shapes, sizes, and
relationships of each of the areas of
the drawing, to expand your
perceptions, and help to mentally
visualize the image more completely
and accurately.
It is a matter of working on the
brain, nervous system, and muscles to
handle the most fundamental skills
that underlie not just drawing, but
any sort of physical activity. It’s
similar to little children learning
to hear the sounds of speaking and
pronounce them correctly.
Practice the most basic of skills.
Thanks so much for this – such great suggestions. And yes – really great exercise for basic motor and perception skills! Fun but also important!
Best wishes
Lisa
I have to admit, your drawing exercises
took me back 30+ years. One of my
professors had us draw with our our
drawing boards on our lap UNDER THE
TABLE. We were not looking at our
drawings.
This had a couple of affects I believe.
Number one, you had to look at the
subject at the same time concentration
where you were (or think where you were)
in relation to the placement of your hand.
Where did you end up? where will you go
next? It was mind mapping. A terrific
exercise.
The second point was while drawing with
the opposite hand, it made me stop and
slow down and concentrate on my drawing
process in a different light. Lines suddenly
had more meaning. I learned to look at the
subject in a different manner. It wasn’t
sketching. Oh no. This was drawing.
Sketching was fast and effortless.
Drawing was lines and shapes and space. I
learned to slow down and study my
subject and study how I was going
approach my drawing lesson.
One last point that was kind of fun. We
also did contour drawings on our boards
under the table. This was yet another
exercise to concentrate on your subject at
the same time concentrating on your
drawing. One continuous line.
Dear Gerald,
Thanks for your reminisces! Sounds like art school hasn’t changed much over the years. I do love these loose drawing approaches, as you say, it’s real drawing as opposed to sketching. I love doing continuous line blind contour drawings too!
Best wishes
Lisa
Thanks Lisa for this article…perhaps
many of us fall into the trap of thinking
that what we draw also has to be ‘good’
and therefore because it takes longer than
5 minutes to complete, we don’t draw
daily. I have been doing blind contour
drawings on watercolour postcards in ink
pen, which I then add some watercolour to
when I have finished, for a while now. It
always makes me smile to see the end
result and I have also noticed that the
drawings are becoming more accurate.
Your article is a great reminder that we
can have fun, without feeling pressured or
even guilty because it isn’t ‘proper’
artmaking, while also keeping ourselves
engaged ‘fully’ with our practice 🙂
Hi Connie
Yes, I think many of us fall into that trap. Your blind contour ink drawings sound really exciting!
Best wishes
Lisa
Comments are closed.